
Building a Youtube Subscription Tracker with an Inky Frame #
I love looking around sites that take user designed projects and allow the designer to sell their own products. Generally these devices are really meant to hack on and allow you to build almost anything that you want with a bit of coding. I recently bought a few new devices to play around with from Pimoroni. I bought a Badger 2040 and a Tufty 2040 and we will play with those later. But today I want to start a project with an Inky Frame 5.7 Inch, and turn it into a Youtube subscription tracker.
Desired Outcomes #
What is a YouTube subscription tracker anyway? Well, if you own a YouTube channel like mine you need to obtain a certain number of subscribers and total watch time to be able to monetize your channel. Instead of checking what my current subscriber and watch time is, I would love something that I can mount on the wall and it will update and display those values for me in real time.
So we will design and build a system that will:
- Display current subscriber count and watch time for a specified channel.
- Attaches to local WiFi to enable the Inky Frame to access the internet.
- Query the YouTube API for updated subscriber counts and watch time every X minutes.
- Update the display and sleep until the next wake up interval.
We will be using MicroPython to write the code for this project. Which is perfect, as I have been looking forward to a project that will allow me to learn MicroPython.
The first step after receiving your Inky Frame is to update it to the latest firmware. This is the latest build of MicroPython, and the corresponding drivers for this device.
Firmware Update #
To download the firmware, just go to the Pimoroni Github and download the latest version of the firmware, which at the time of writing this article is 1.22.2. To instal it plug in your Inky Frame to your computer, and that will power it up. Press and hold the bootsel (boot select) button on the Raspberry Pi Pico W and press and release the reset button. This is the procedure to reset the Inky Frame and since you have the bootsel button pressed, it will boot into firmware update mode.
In a few seconds you will see a new drive appear on your computer called ‘RPI_RP2’. Drag the downloaded firmware file to that volume and the computer will copy the file to the frame. When the copy is complete the frame will reboot and it will be running the new firmware.
Installing Thonny #
I will be using Thonny as my IDE in this project. This easily allows connecting my computer to the Pico W and coding directly on the device. The instructions for installing Thonny are on the projects GitHub page for Macintosh, Linux, or Windows. Since I use HomeBrew on the mac it was as simple as issuing a
brew install thonny
to get it installed on my system.
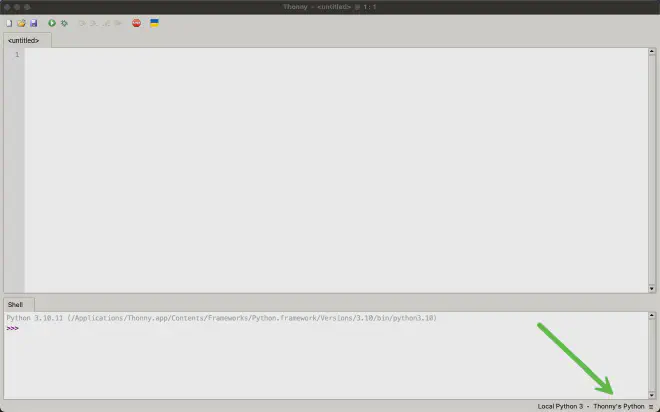
Connecting Thonny to the Inky Frame #
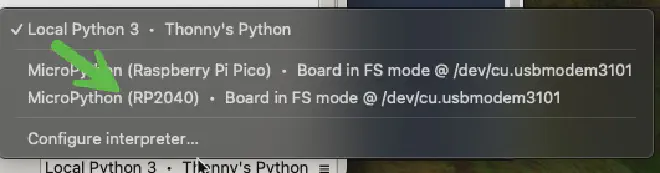
To connect Thonny to the Inky Frame click at the bottom right corner of the Thonny editor window
and set the value to MicroPython (RP2040) as in this picture.
Then stop the running process on the board by pressing the stop sign button on the button bar at the top. At this point you should have access to the running python process on the RPI2040 board.
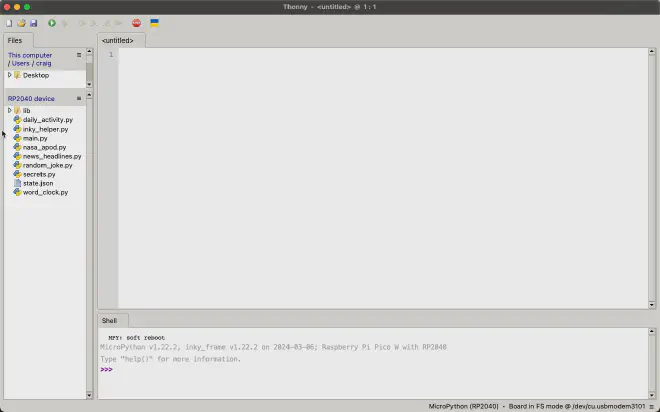
If you click on View / Files you will be able to see the filesystem on the Pico W board.
Recovering your device #
Before we get into deleting unneeded files, I want to cover how to recover your device if you brick it (as this isn’t too hard to do). First you can always re-flash the device, but this will not change the filesystem. So if the issue is with your code, then you will need to completely delete the flash on the Pico W first. To do this download this special .uf2 file called flash_nuke. Copy this file first to the RPI_RP2 volume and allow the RPI2040 to reboot. Then the RPI_RP2 volume will reappear on your desktop and you can re-flash the required MicroPython firmware to the device. If you want to restore the default files to the filesystem they are available here
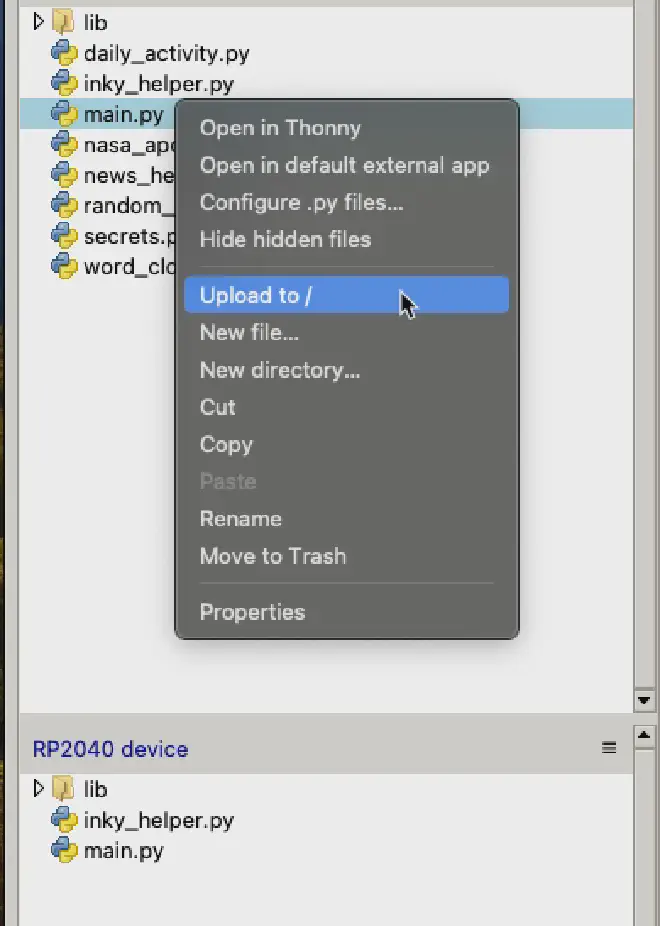
To upload files with Thonny, select the file in the top window in your filesystem. Then right click on it and select upload to /
My starting point #
I have deleted all the default files and left these in place.
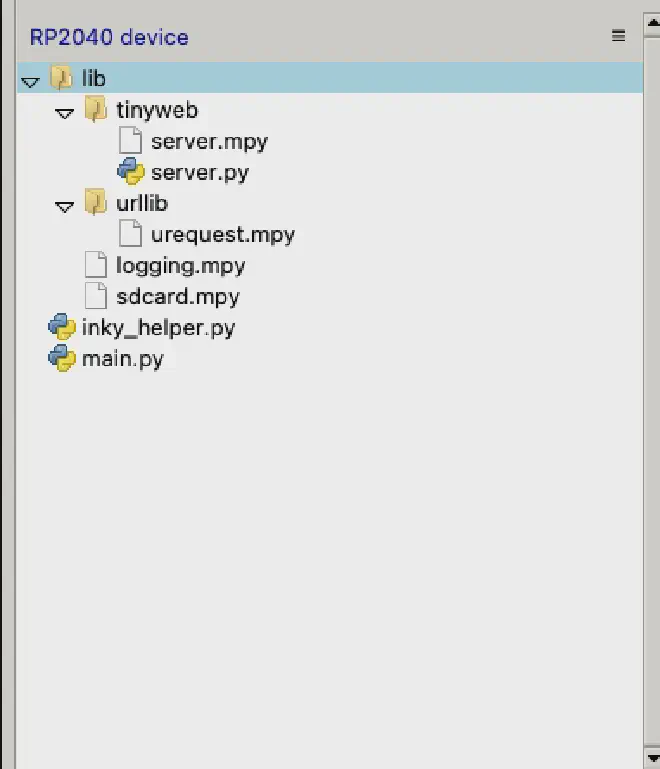
The reasons are simple. The main.py file is launched by default when MicroPython starts. So i’ll likely use this as a shell to start my coding. The inky_helper.py file has a number of helper functions that the development team has built, so i’ll keep these around in case they are useful. Finely we have the lib directory, which contains the TinyWeb web server. It also contains a version of urilib. Although I just noticed that there is a version of urequests in the MicroPython standard library, and since I love requests, I am more likely to use that.
Pico Graphics #
There is a picographics library that is shipped with the firmware for this device, and is the easiest way to display content to the screen. The documentation for the picographics library is here
Hello World #
I want to end the first article in the series with a Hello World! example program. Let’s first run the hello world version of a blink program. Enter this code in your main.py file.
import machine
import time

led = machine.Pin('LED', machine.Pin.OUT)

while True:
    led.toggle()
    time.sleep(2)

Save it and press the reset button on your Inky Frame and watch the green LED on the Raspberry Pi Pico W blink on and off every two seconds.
If that is what you see, CONGRATULATIONS and hello world!
In the next article in this series we will start printing information to the screen.